Sunday, November 15, 2015

Easy Under Cabinet Lighting and a Secret On/Off Switch

My birthday was earlier this month and my sweet Hubby got something for me that I have always wanted - Under Cabinet Lighting!! I can't tell you how excited I was and how much I love them. They were so easy to install and make our kitchen look amazing!

Just a note that this is not a sponsored post, but hey Lowe's, we would love to be sponsored! LOL!

Here's a photo with the lights on - What do you think?

Lowe's, kitchen lighting, kitchen diy
 Here's the same view without lights - big difference isn't there?


These photos were taken during the day but at night the light looks so lovely and makes our kitchen look like a million bucks!

Here are a couple more shots - 


The lights that we installed are LED Light Bars from Lowes and they come in three sizes. While they aren't cheap, they should last forever or 36,000 hours - whichever comes first! They also have a built in dimmer so you can easily bring the light up or down.

Click on the photo below to go to the Lowe's website - 


Here's what they look like from below - 

We were able to easily install them by drilling a hole in the corner of the cabinet and another into the microwave cabinet. The cords disconnect from the units so you can feed the small end through the holes back down to the lights. Command adhesive hooks help keep the cord secured so that they don't show below the cabinet.

The units also link together which is perfect for the right side of our stove as there are two separate cabinets there. We used more Command hooks to keep the cords out of sight.


It's no secret in our family, that I'm kind of a light-a-holic and not only that but I'm extremely lazy when it comes to turning all the lights on and off. I know there are fancy systems out there that turn your lights off and on, but they are very pricey and I'm the Queen of Cheap! 

So here's what we use to turn our lights off and on - 


These are available in the Christmas Shop at Wal-Mart now and they are amazing! You get 3 plugs and one remote control in the package. We used two plugs for this project and the third is going to be used for my Christmas Village on the bar in the kitchen. You can't beat the price on these and they last for years! I have one in the living room that operates all the lamps and another in the craft room upstairs.

One of the wireless outlets was plugged into the electrical outlet that the microwave plugs into and the other was plugged in behind the fridge. We also used a three outlet plug into the wireless outlet for the microwave cabinet. That allowed us to plug the right and left units into the same wireless outlet. 

Here's a photo of the 3 outlet plug - you can get these at Lowe's too for about $4 - 


Here's an up close  photo of the remote - 


It's small and hangs on the side of our fridge - 


Hanging it on the fridge is the only way to keep it from being lost in our kitchen and another command hook works perfectly.

This is one of the best birthday presents ever and we were able to do it all ourselves! Such a great feeling to be able to accomplish a project like this without having to pay someone else to do it for you!

Hope you had a wonderful weekend and here's to a wonderful week ahead! Can't believe we only have another week and half until Thanksgiving! 


post signature

Tuesday, October 27, 2015

Our Halloween Dining Room

Last Halloween we came up with spooky decorations for our breakfast room chandelier, so this year, it was time to decorate the dining room too. All it took was a length of black tulle, spider diecuts and a couple of strands of mini skeletons from Dollar Tree to make it look creepy and elegant.


 It looks great surrounded by paper rosettes and paper lanterns.

 I love the black and white vibe we have going on in there this year. Here's a peak at all of our dining room decorations-


All in all, it came out even better than I expected. This year, there wasn't a plan - just kind of threw it all together in about an hour using items we made and a few decorations we picked up at Dollar Tree and Target.

Are you ready for the big day? We hope to take the kiddos trick-or-treating on Saturday, but right now there's a 100% chance of rain!!! Oh well, guess we will all be using the umbrellas on Halloween!

Wishing you a Happy and Dry Halloween!


post signature

Sunday, October 25, 2015

Painting Party and a Wicked Witch Sign

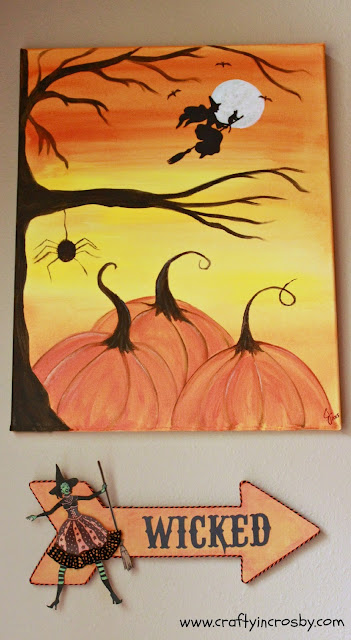
Have you ever gone to a painting party? We've gone to Painting with a Twist several times, but yesterday we went to a local shop here in Crosby for a party and had an amazing time! This was an early birthday present from my Mom and she couldn't have given me anything better - love you Mom!

Anne with The Antique Trunk, was an amazing teacher and since there was only 5 of us there it was so much more relaxed and fun. Anne even let us choose a painting that I found online. Thank you Anne for such a fun day!


Halloween, easy Halloween painting, painting party

None of us were sure of painting the witch, so we decided to let the Cricut do the work for us! So much easier and we all loved how it turned out.


Here's the painting that I found online and sent to Anne - 


Our paintings are pretty close to the original, except for the man in the moon. We didn't think we could get that level of detail so we just placed the witch over the moon. 

Of course, I couldn't wait and had to hang mine up today. But it looked a little lonely and I decided it needed a little Wicked Witch Sign.

Inkadinkado Stamps, witch, witch stamp, Wicked, pumpkin painting

The witch is a stamp from Inkadinkado that I picked up from Michaels a few weeks ago.


I stamped her on colored paper, but in hindsight, I think it might have been better to stamp her on white paper and fill in the white with colored pencils? Hmm.... next time I'm going to try that. 

It's hard to see in the photo but she has a bit of orange tulle over her skirt and ribbon trim that was hot glued on. Next time, I think she should be purple with a black tutu skirt? The combinations are endless and I know that there are going to be many more versions of her by next Halloween.

Inkadinkado Stamps, witch, witch stamp, Wicked,
The arrow sign came from Hobby Lobby and was painted and covered in a piece of scrapbook paper.


The black and orange bakers twine came from the Dollar Spot at Target and was the perfect finishing touch.

Inkadinkado Stamps, witch, witch stamp, Wicked,


Inkadinkado Stamps, witch, witch stamp, Wicked,

Hope you had as much fun this weekend as we did and hope you have a wonderful week!

post signature

Monday, October 19, 2015

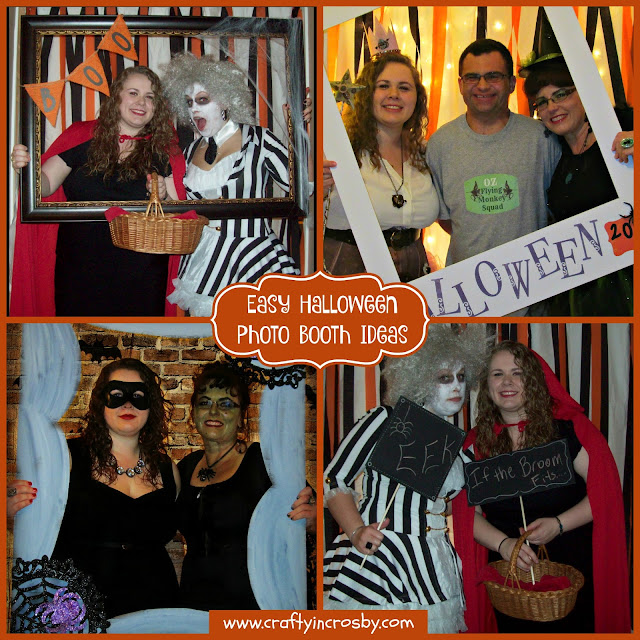
Easy Halloween Photo Booth Ideas

Have you ever set up a Photo Booth before? It is so quick to do and so much fun! Halloween is the perfect time to get some great shots of everyone in their costumes.Our booth has been such a hit at our past 3 Halloween parties and I thought I would share our some of our DIY frames and ideas in one post.

photo booth, diy polaroid photo booth frame, photo booth frame, Halloween photo booth, easy Halloween photo booth ideas


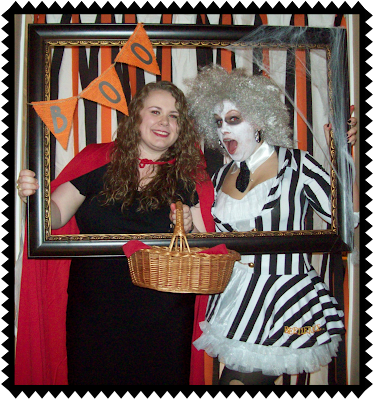
The first year we kept it fairly simple with just crepe paper and a photo frame with a simple Boo banner and spiderwebs.

photo booth, diy polaroid photo booth frame, photo booth frame, Halloween photo booth, easy Halloween photo booth ideas

We are lucky enough to have the perfect spot upstairs for the photo booth. Two of our bedrooms open into a small alcove that is the perfect size for a shower curtain rod. A white sheet is the perfect backdrop when it is suspended from the rod. Black and orange crepe paper is the perfect inexpensive way to add some color to the background.

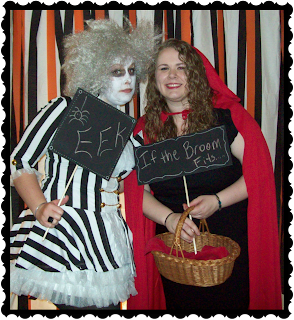
Small chalkboards are easy to make with black foam core board, chalkboard spray paint and wooden dowels. These are always fun additions and ours have been used over and over again.

photo booth, diy polaroid photo booth frame, photo booth frame, Halloween photo booth, easy Halloween photo booth ideas

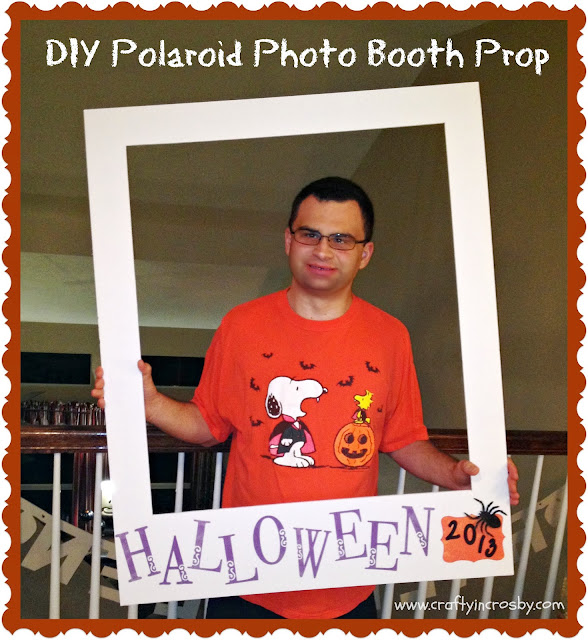
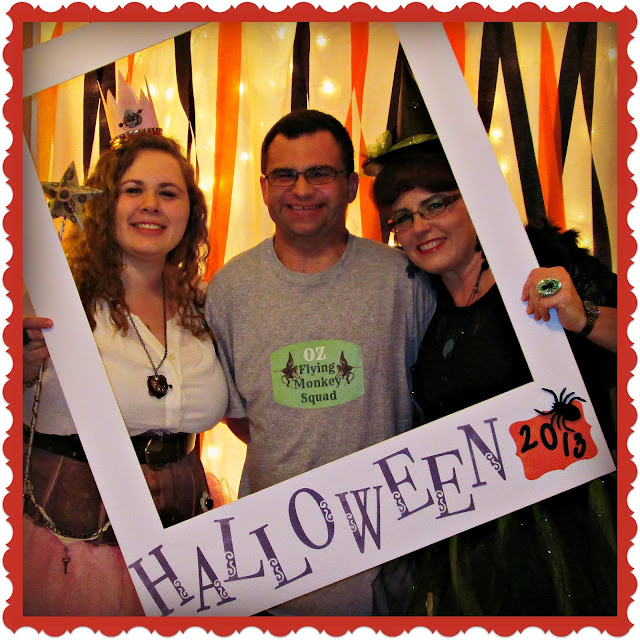
Foam core also makes an easy Polaroid Photo Frame like the one we used in 2013.

photo booth, diy polaroid photo booth frame, photo booth frame, Halloween photo booth, easy Halloween photo booth ideas

We added strings of white Christmas lights behind the backdrop this year. They really brightened up the photos.

photo booth, diy polaroid photo booth frame, photo booth frame, Halloween photo booth, easy Halloween photo booth ideas

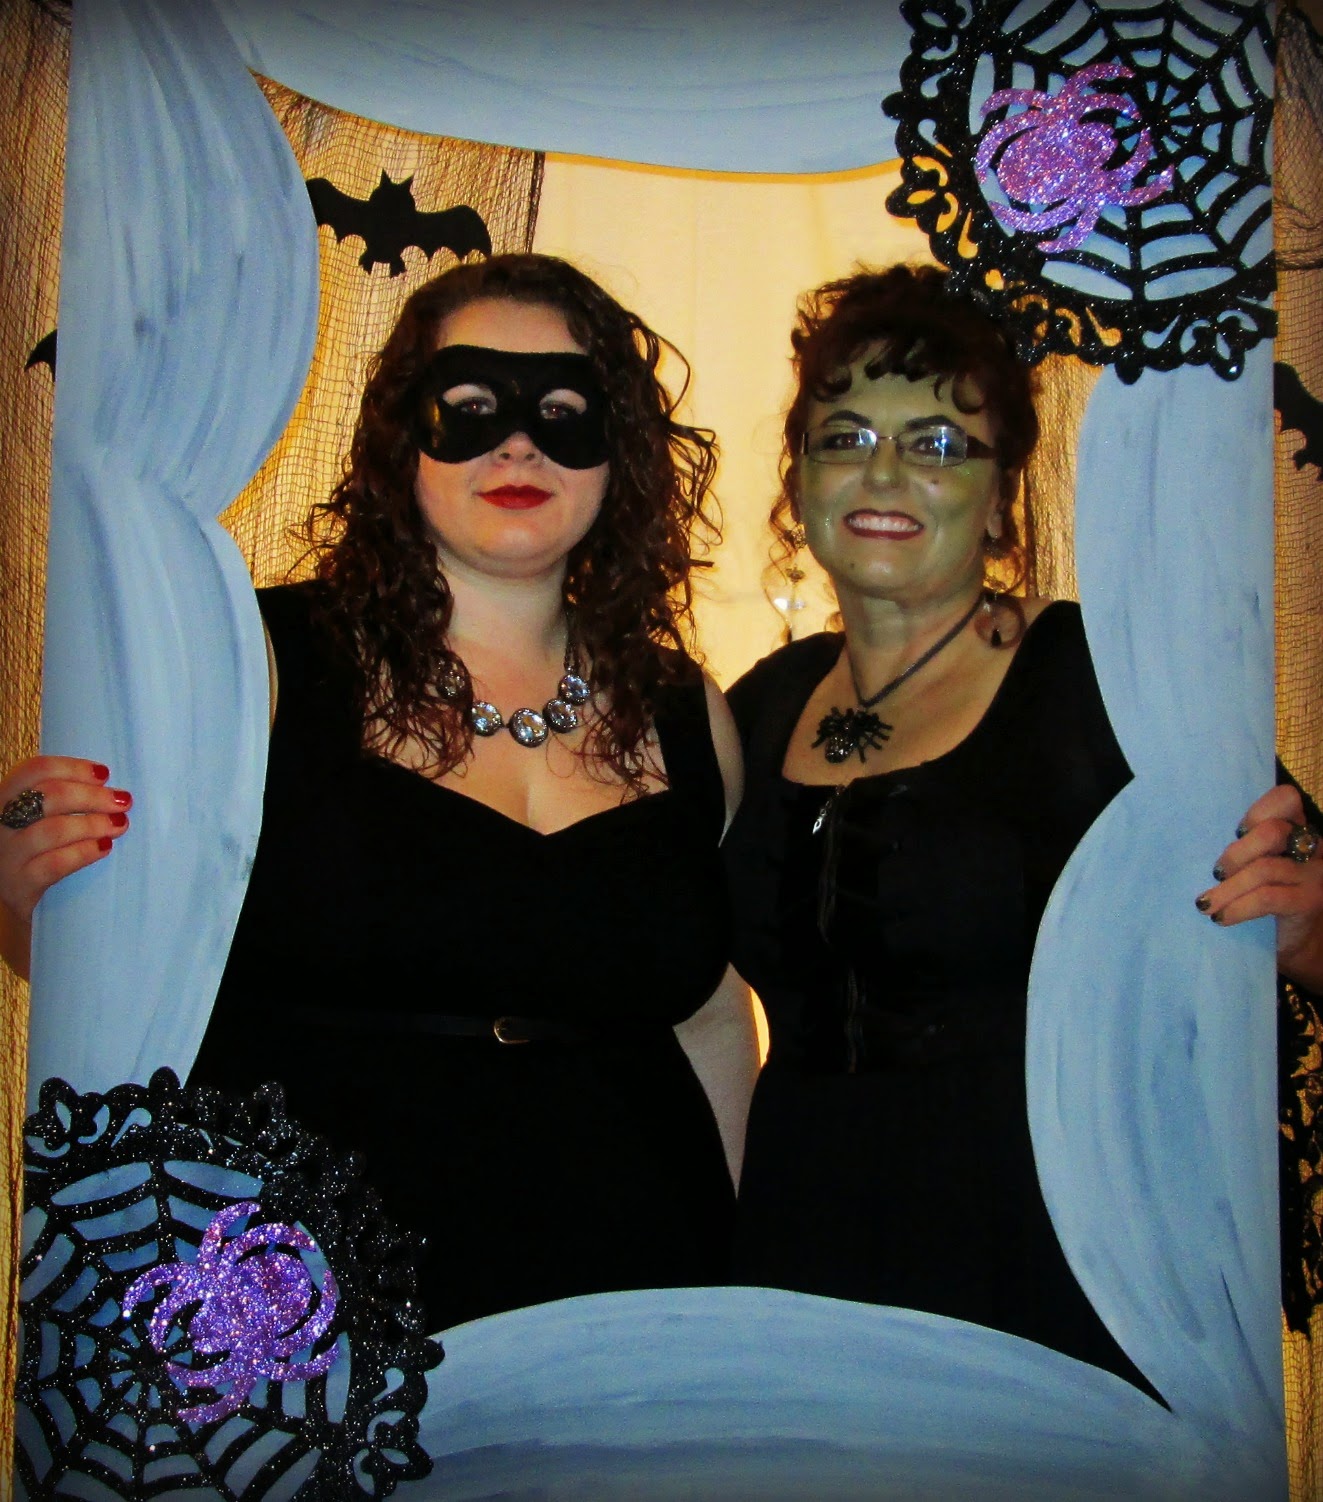
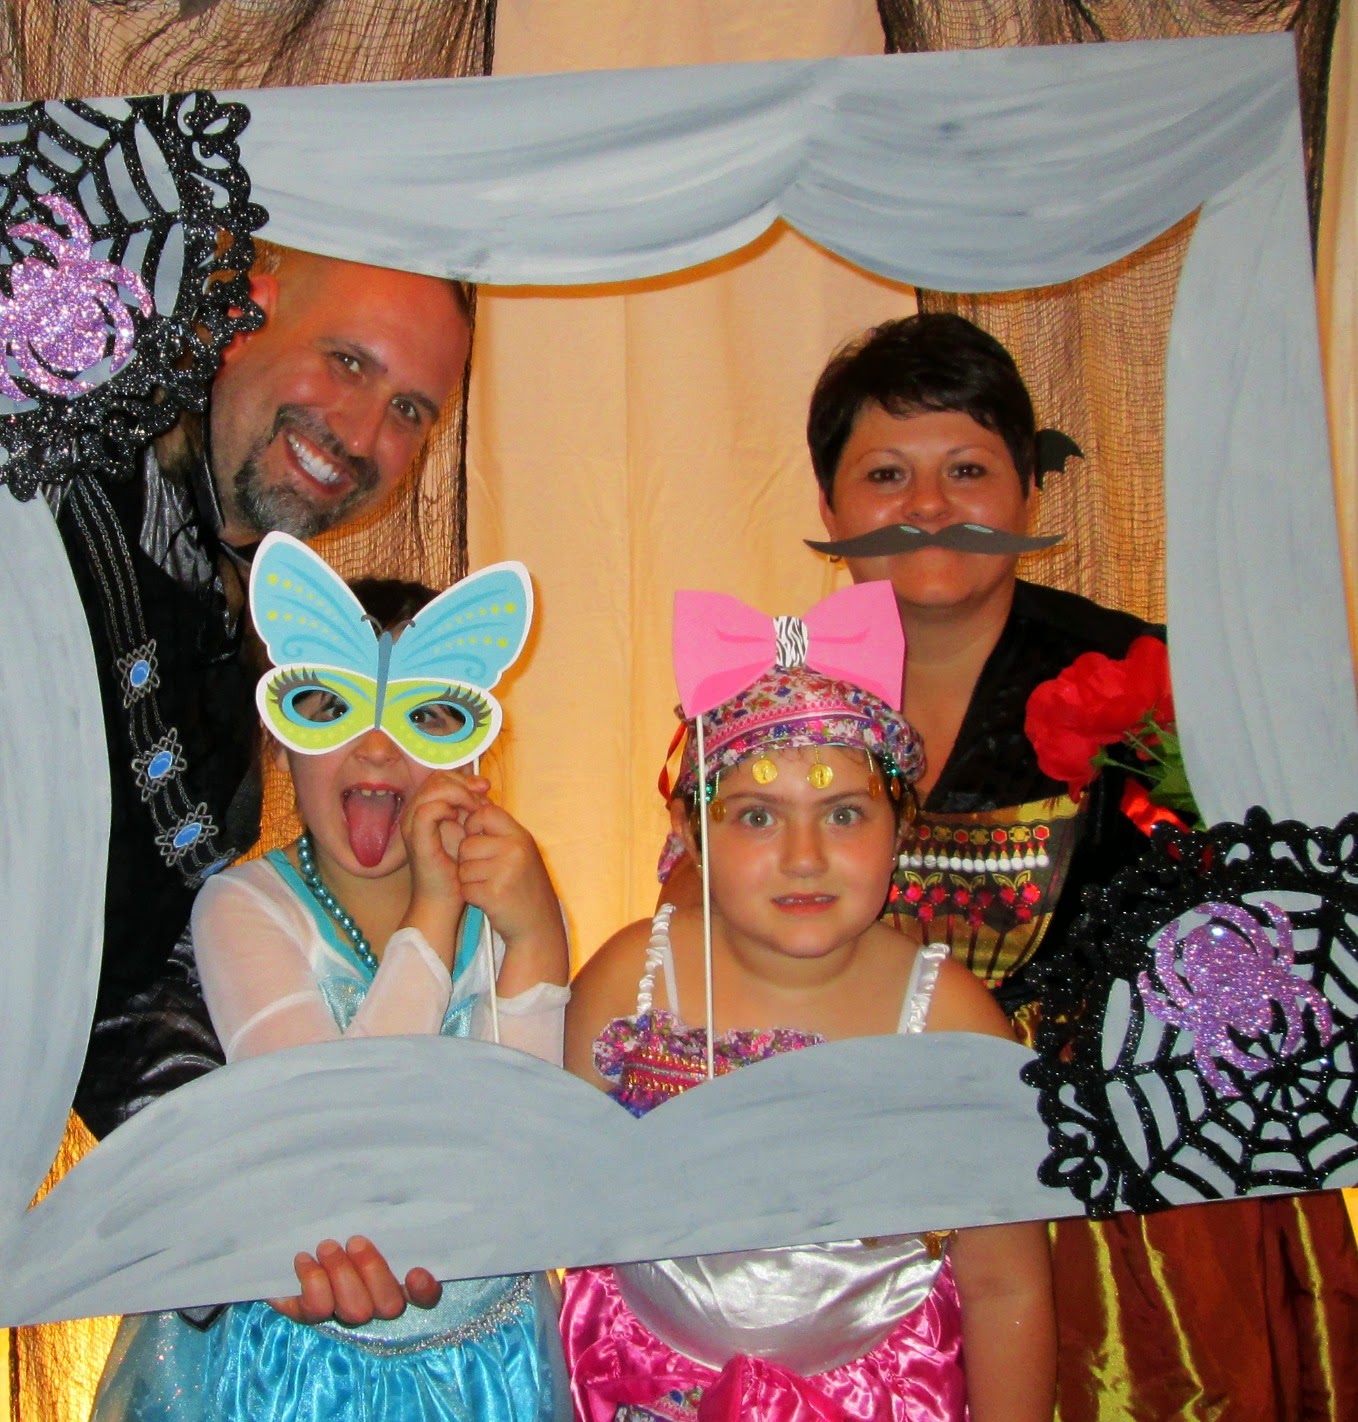
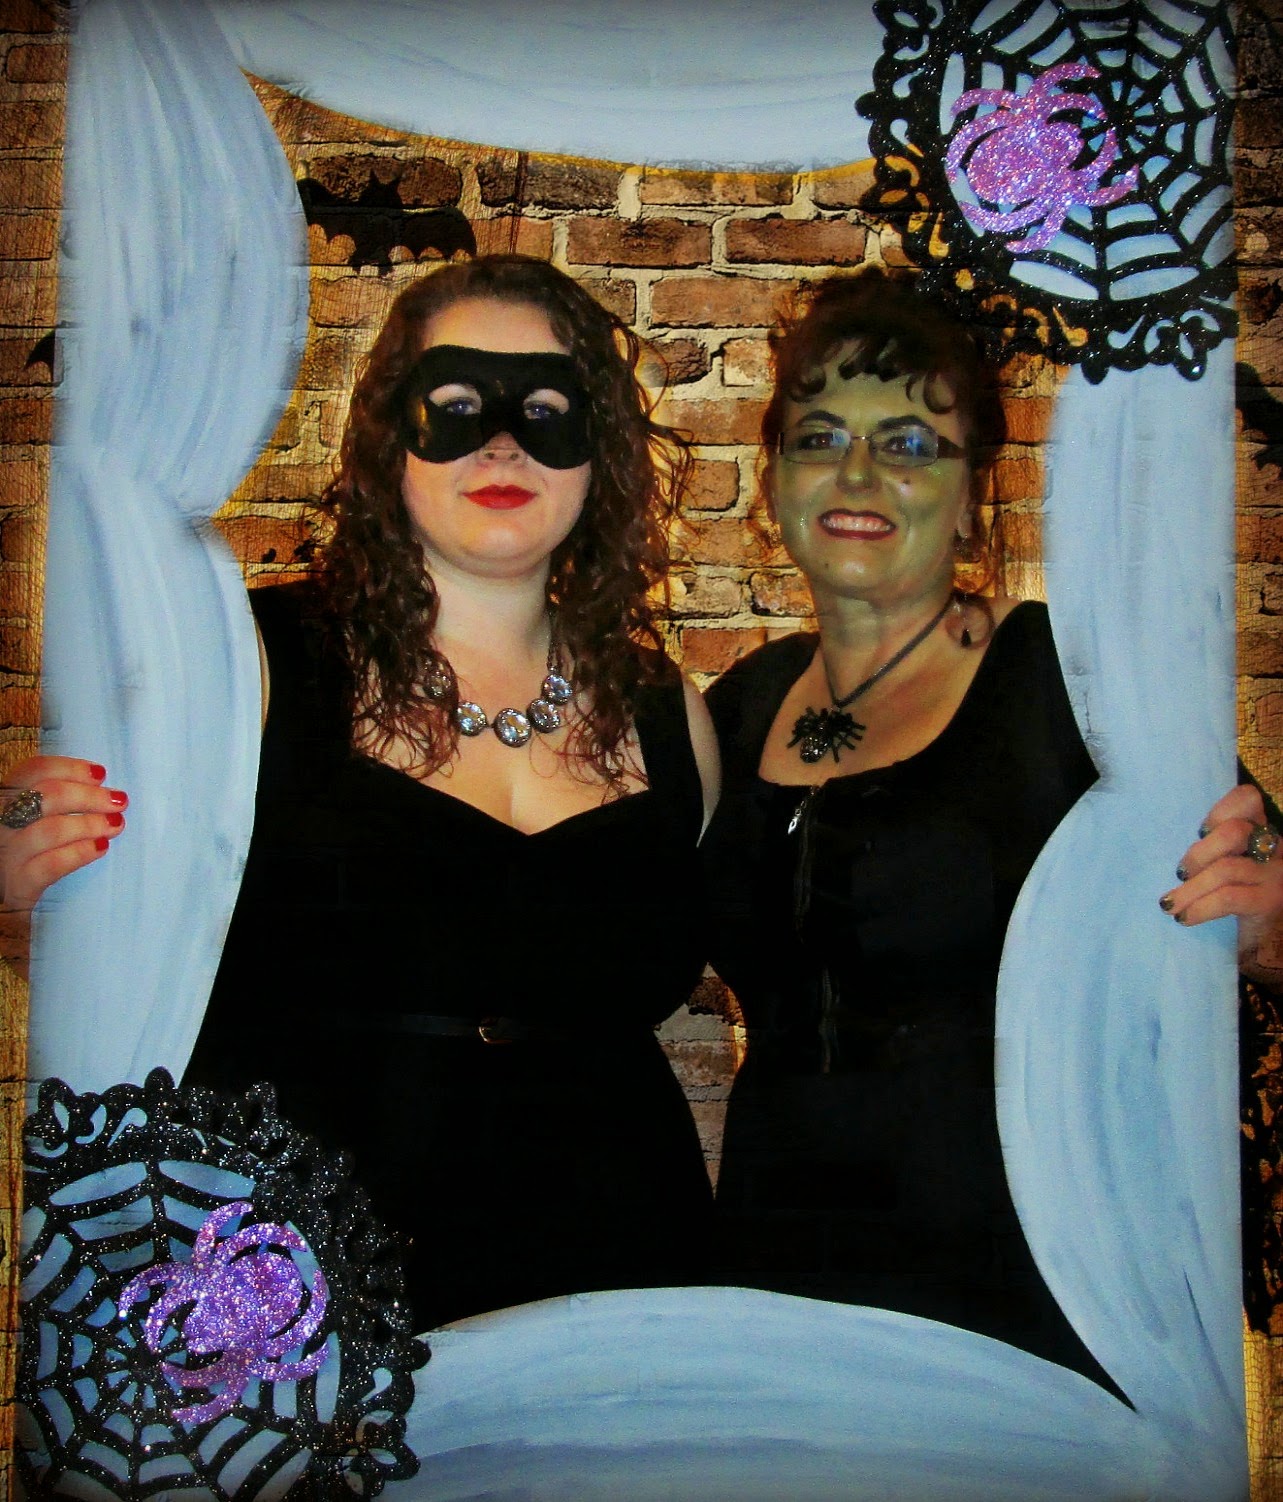
Last year, we made another frame out of foam core that was a bit spookier. It was decorated with felt spider webs from Dollar Tree and we decorated the backdrop with spooky fabric and bats. You can get the easy how to here.

photo booth, diy polaroid photo booth frame, photo booth frame, Halloween photo booth, easy Halloween photo booth ideas

photo booth, diy polaroid photo booth frame, photo booth frame, Halloween photo booth, easy Halloween photo booth ideas

photo booth, diy polaroid photo booth frame, photo booth frame, Halloween photo booth, easy Halloween photo booth ideas


photo booth, diy polaroid photo booth frame, photo booth frame, Halloween photo booth, easy Halloween photo booth ideas

This year, will probably be a combination of the three different frames or we might set up a spooky scene in the hubby's office so check back next week to see what we came up with.

The Halloween countdown has begun! Hope you are having lots of spooky good fun this year!


 post signature


Related Posts Plugin for WordPress, Blogger...