Monday, June 23, 2014

Frugal July 4th Mantel and Banner made with Napkins

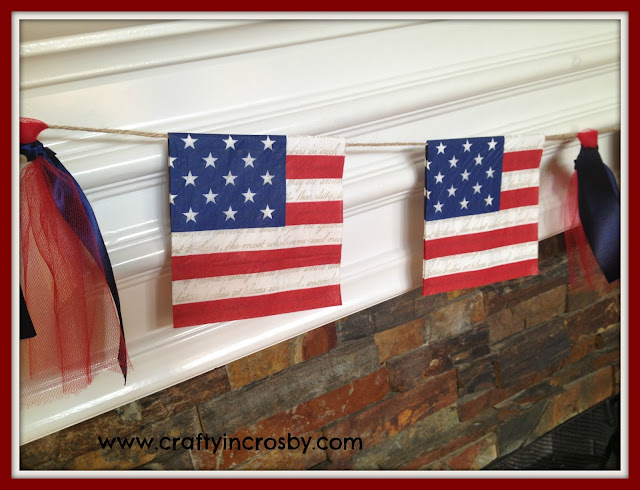
This is a repost of our 4th of July mantel from 2012.  It is still one of our favorite projects and it all started with a package of cocktail napkins from Hobby Lobby. 


www.craftyincrosby.com, Crafty In Crosby

I bought them intending to Mod Podge them onto glass jars and was starting on that when I had an Epiphany! (that's one of Leigh's favorite words so I try to use it as often as I can!) The napkins would make a great banner for the mantel too!  So I simply opened them up and laid the twine in the middle and secured them with tape.  I also used red tulle and blue satin ribbon tied on to the twine.  I glued the napkins together too so that the ceiling fan wouldn't make them flutter.  This was super easy and turned out great - of course, you couldn't put it outside, but it works great on the mantel.

Cheap and Easy - two of my favorite things!

www.craftyincrosby.com, Crafty In Crosby


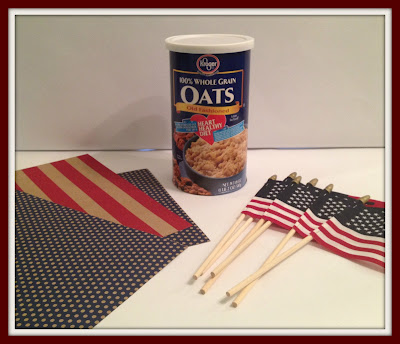
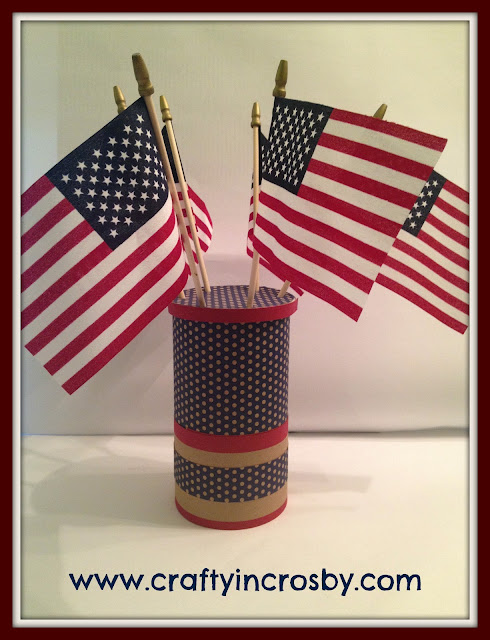
I made the flag holder out of an oatmeal container.  I covered the container with scrapbook paper, then used a hole punch to punch 6 holes in the top.  I covered the top with scrapbook paper too and then turned it over and cut slits in the paper inside each hole for the flags.  The flags came from Target's dollar spot and were 3 for a $1 - score!


www.craftyincrosby.com, Crafty In Crosby


www.craftyincrosby.com, Crafty In Crosby


I love how my fan folded center piece turned out.  I almost bought a wooden one at Kohls a couple of weeks ago and am so glad now, that I didn't.  It is just 3 sheets of 12x12 scrapbook paper that I fan folded and then glued on to a strip of black foam board.

www.craftyincrosby.com, Crafty In Crosby


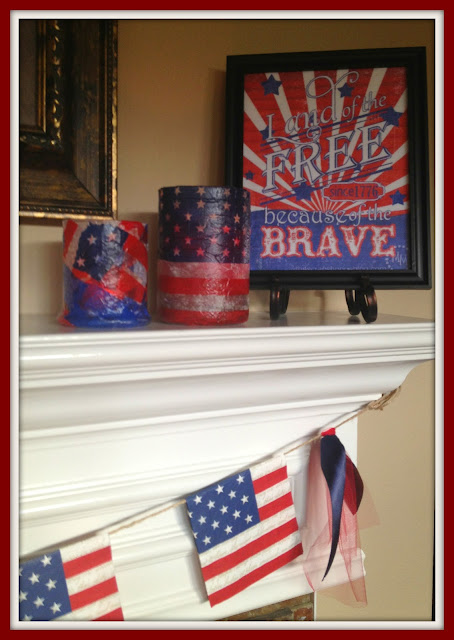
Then of course, the thing that started it all - Mod Podged candle holders using napkins and tissue paper.  I also used a printable from The Scrap Shoppe Blog that I found on Pinterest.  It was the final touch to my Frugal Fourth Mantel Scape.

www.craftyincrosby.com, Crafty In Crosby

All in all, I think it turned out great and I'm definitely going to start looking for more napkins to use to make banners with.  Occasionally I do come up with an original idea!

Happy July 4th to everyone and thank you to all the men and women through the years that have made this -

The Land of the Free, because of the BRAVE!

Photobucket

Monday, June 16, 2014

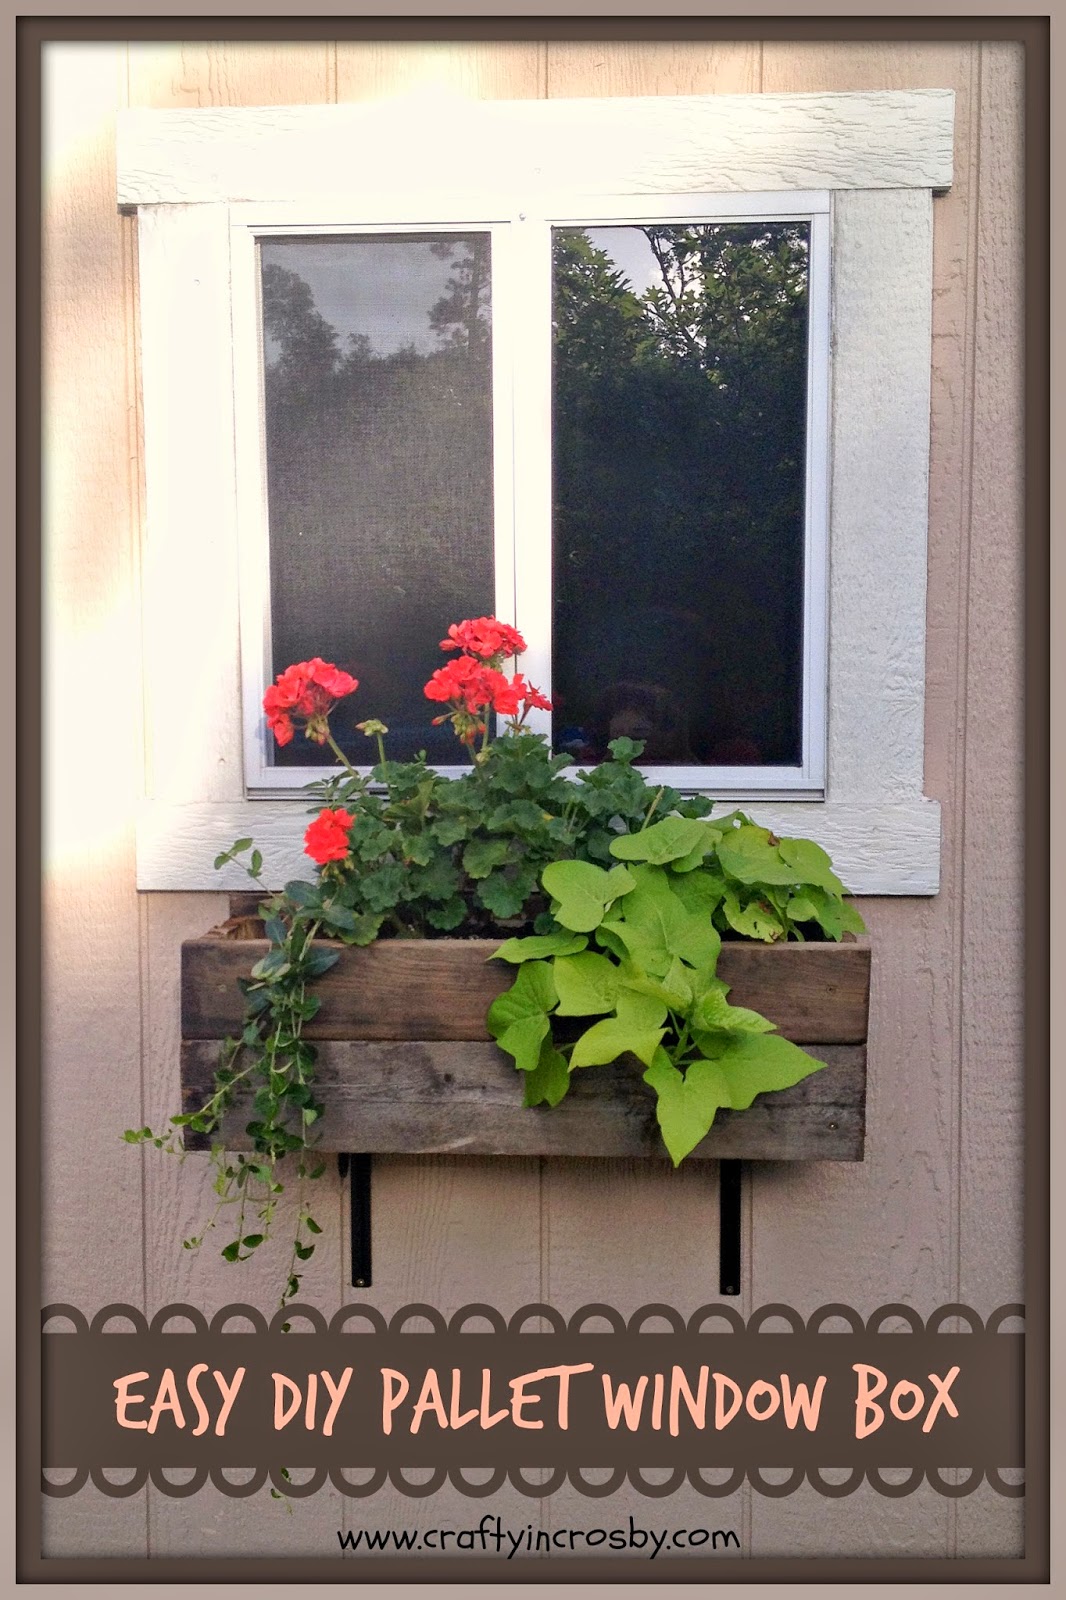
Easy DIY Pallet Window Box

One of the projects that I've had on my to do list for quite some time, has been making a window box for our outdoor shed.  The only time you really see the shed is when we are swimming in our above ground pool.  Since this was the third year for our pool, I decided it was time to, as they say in Texas, "Git Er Done".

diy, Tuffshed, garden shed, window box, pallet diy

Here's the window before we put up the window box - plain and boring - especially since we see it all the time in the summer.


And here it is after - 

diy, Tuffshed, garden shed, window box, pallet diy


Much better, don't you think?

We started with an 18" plastic planter from Walmart for $7.97.


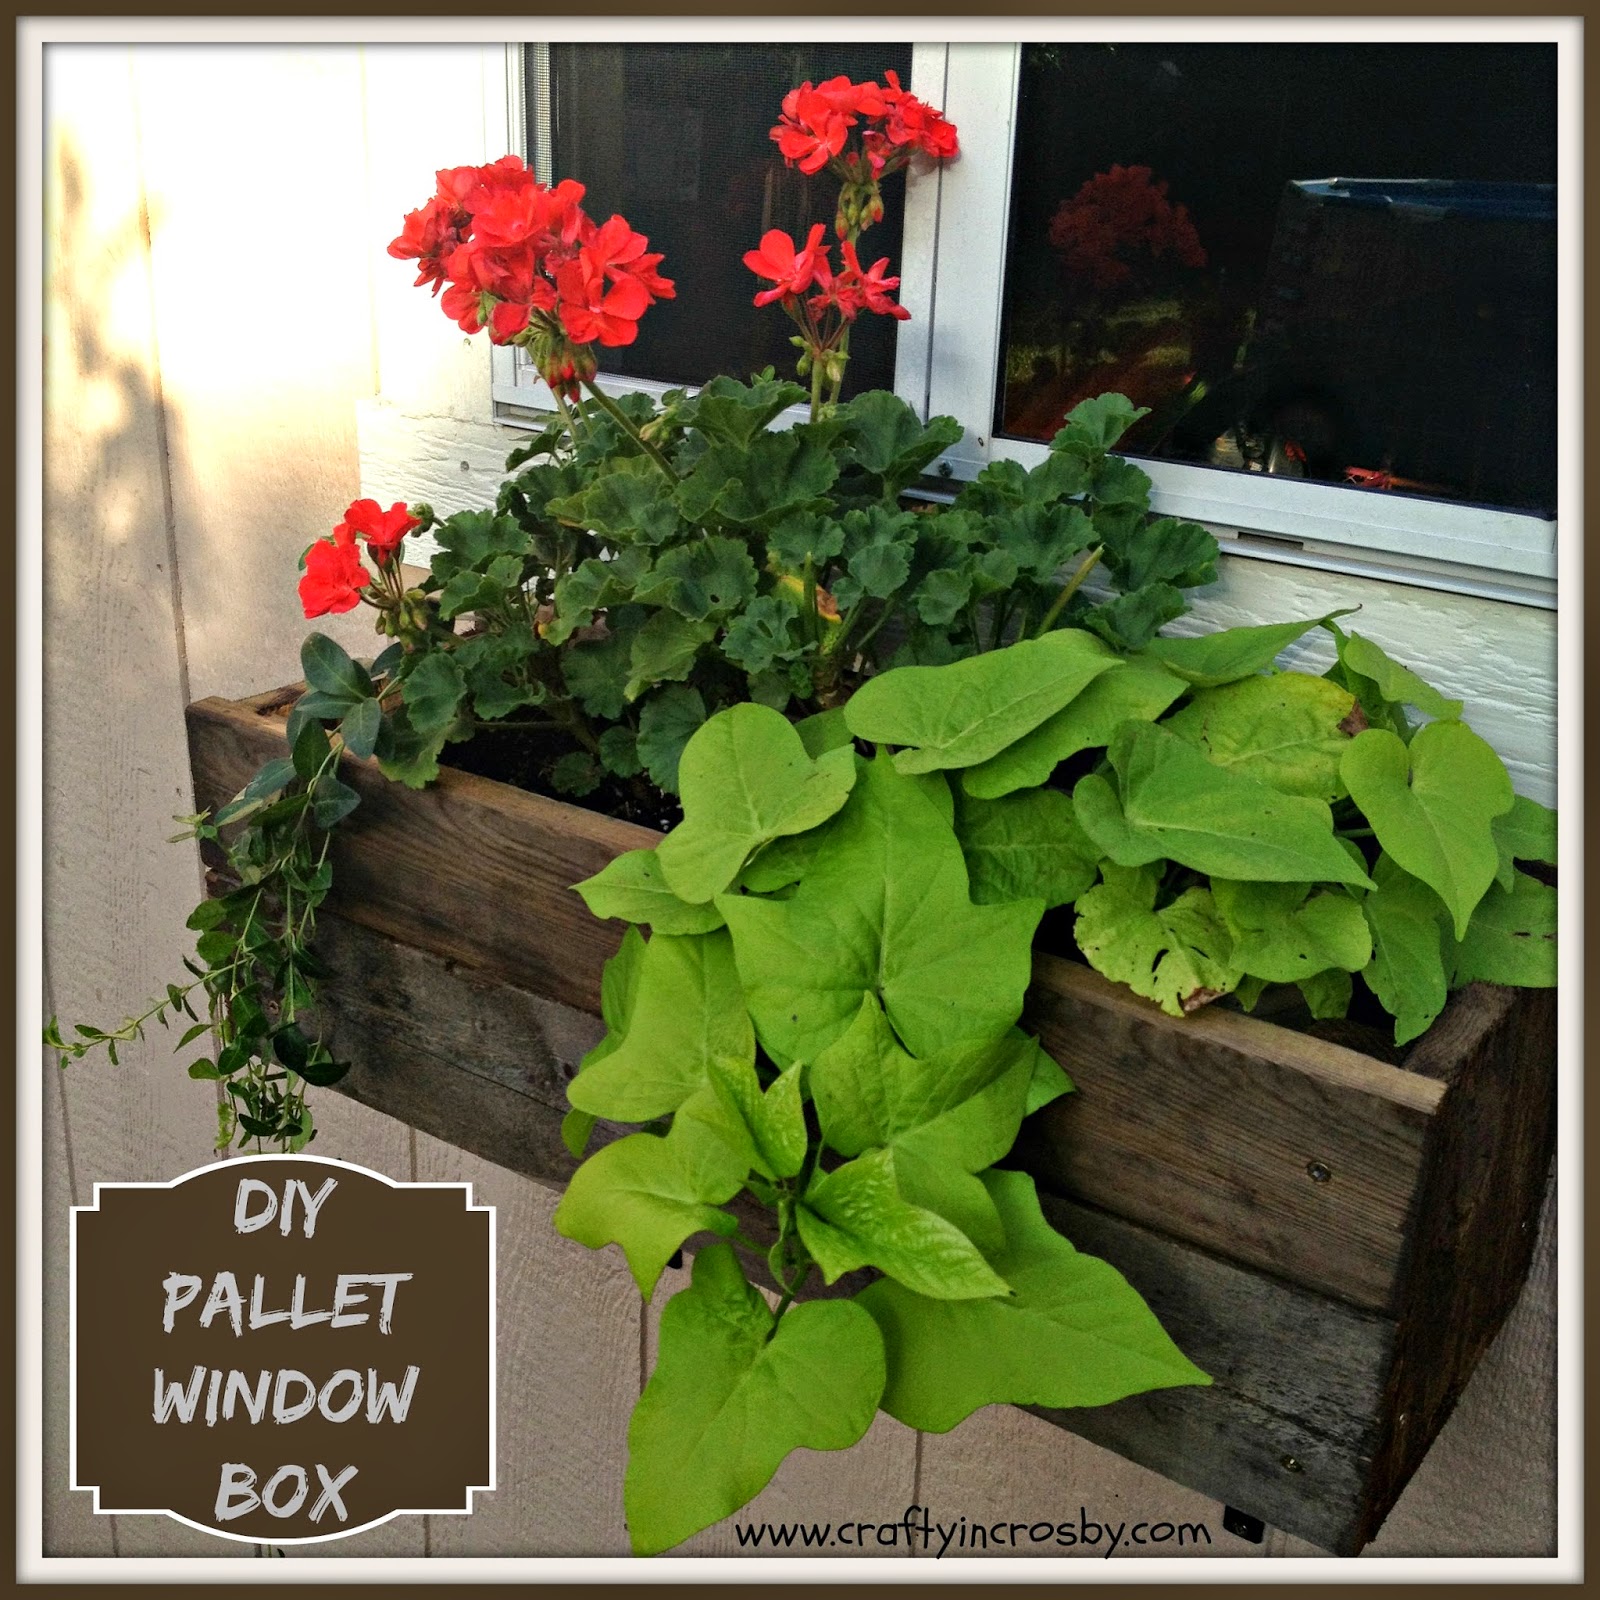
Then cut 6 pallet boards 24" long.  Each section of board was reinforced with metal brackets that we had on hand from a previous project.  We mixed new pallet wood with old and weathered wood.  The new wood went on the bottom and ends.  


Here is the finished box - 


As you can see, we weren't too worried with it being perfect since it was made out of pallets.  I was going for a vintage rustic look! We put it up on the shed with black metal brackets from Lowes that were $4.97 each.


After we put it up, I decided that the raw wood on the ends needed a coat of stain to help it look old and rustic.  The wood would have ended up that way eventually, but I wanted the rustic look now! And my family can tell you that I'm not known for my patience!

diy, Tuffshed, garden shed, window box, pallet diy

Next I want to spruce up the flower bed below the box and then add a trellis to each side for jasmine to grow on.

Then our little shed will start to look more like a little cottage instead of the junk catch-all! 

Don't you think I need the trellis on each side? Mr. Crafty just rolled his eyes when I brought it up.  What do you think? Help me out here - please?

Wishing you all a fantastic week!

Photobucket


We're on the Fence! Won't you take a minute and vote for us?


Sunday, June 8, 2014

Tiki Bar Update

We finally had sunshine here on Saturday, but of course it poured down on Sunday! But at least we were able to enjoy it for one day.

pallet tiki bar, tiki bar diy, redneck swimming hole, Dollar Tree

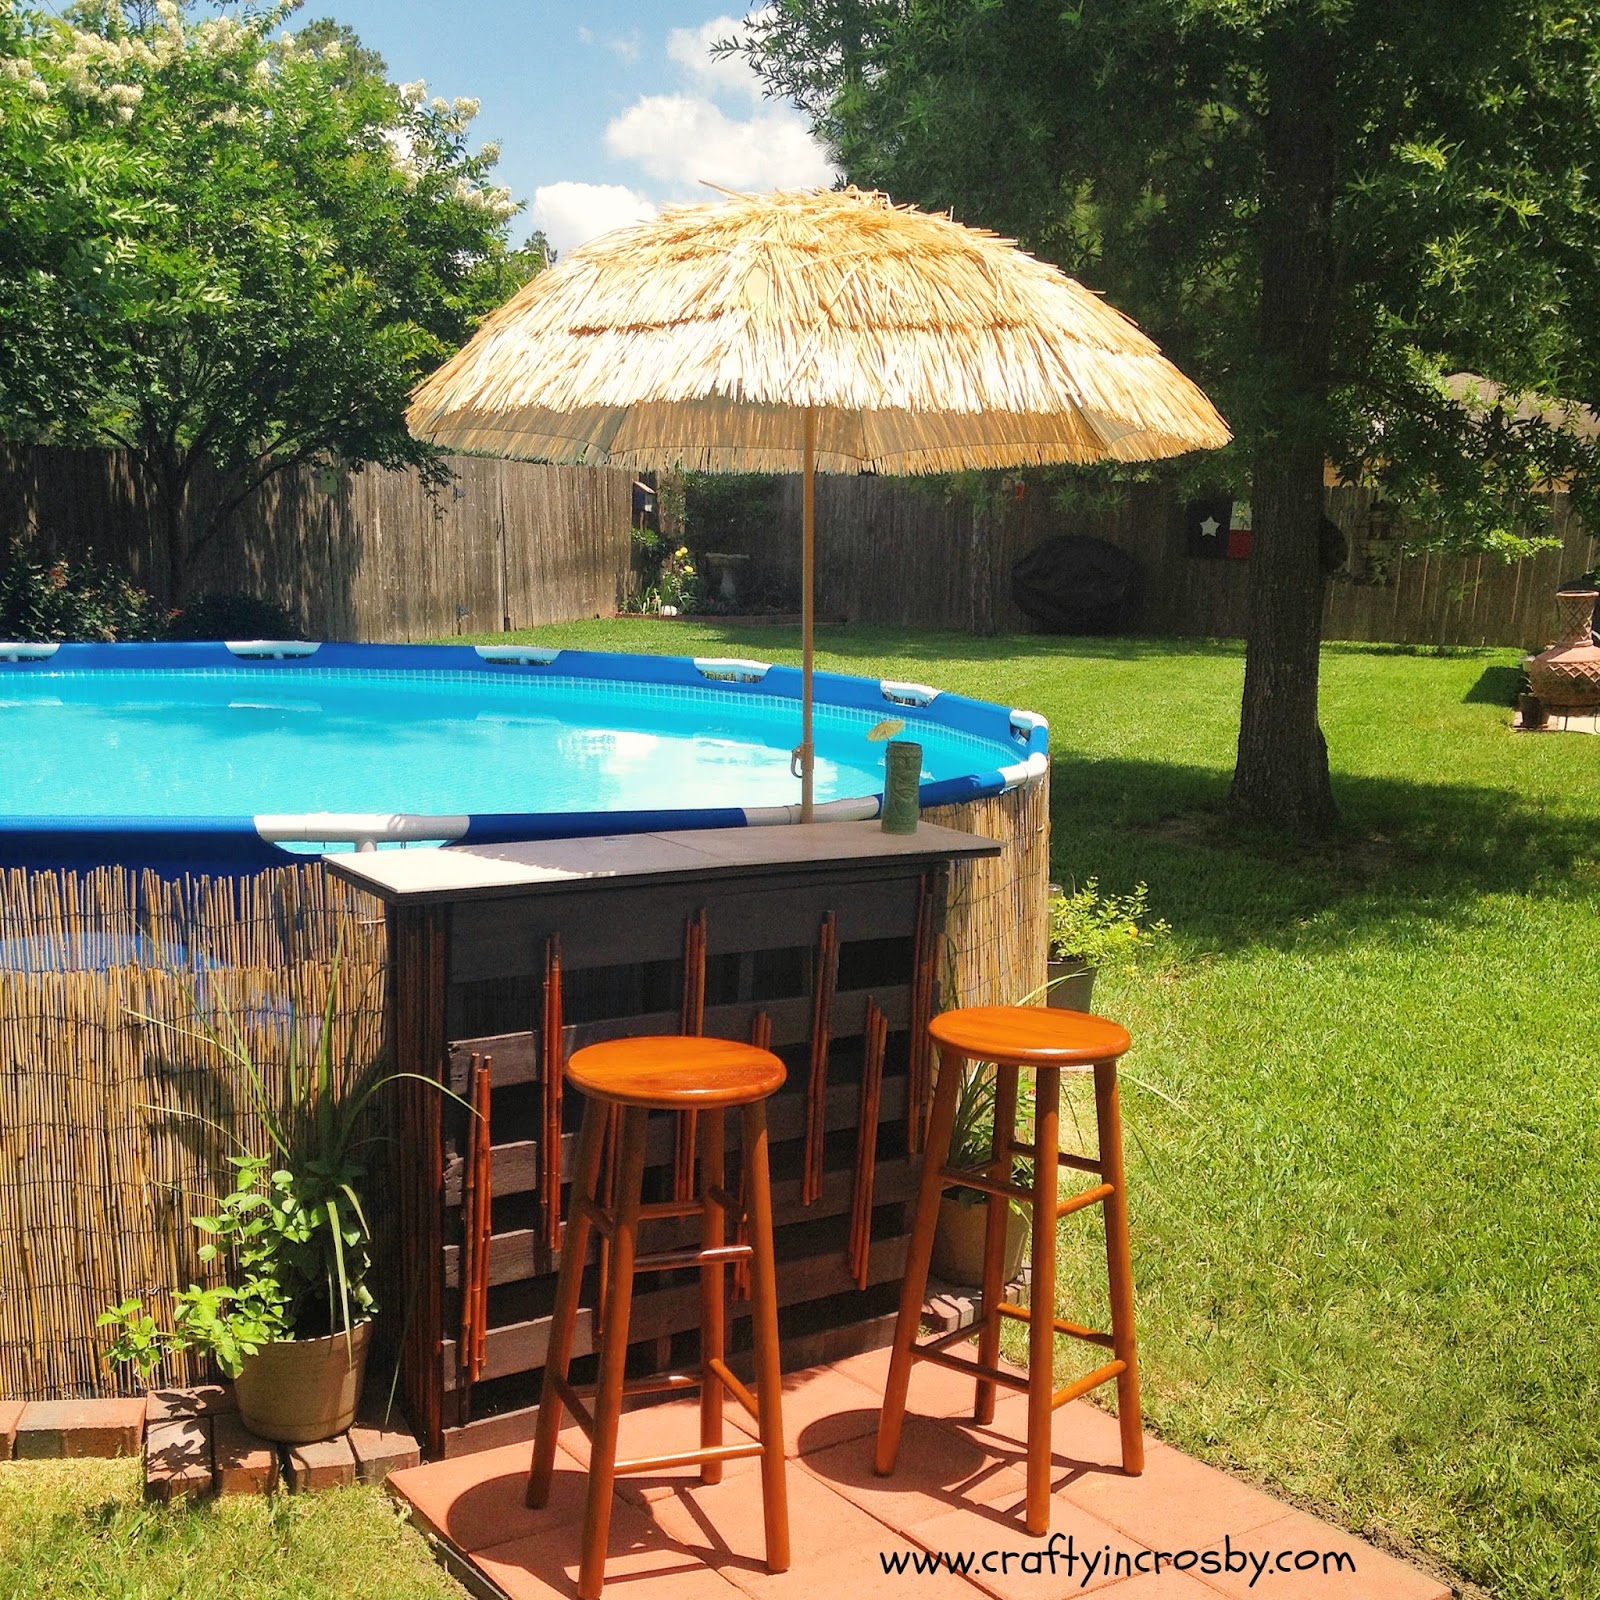
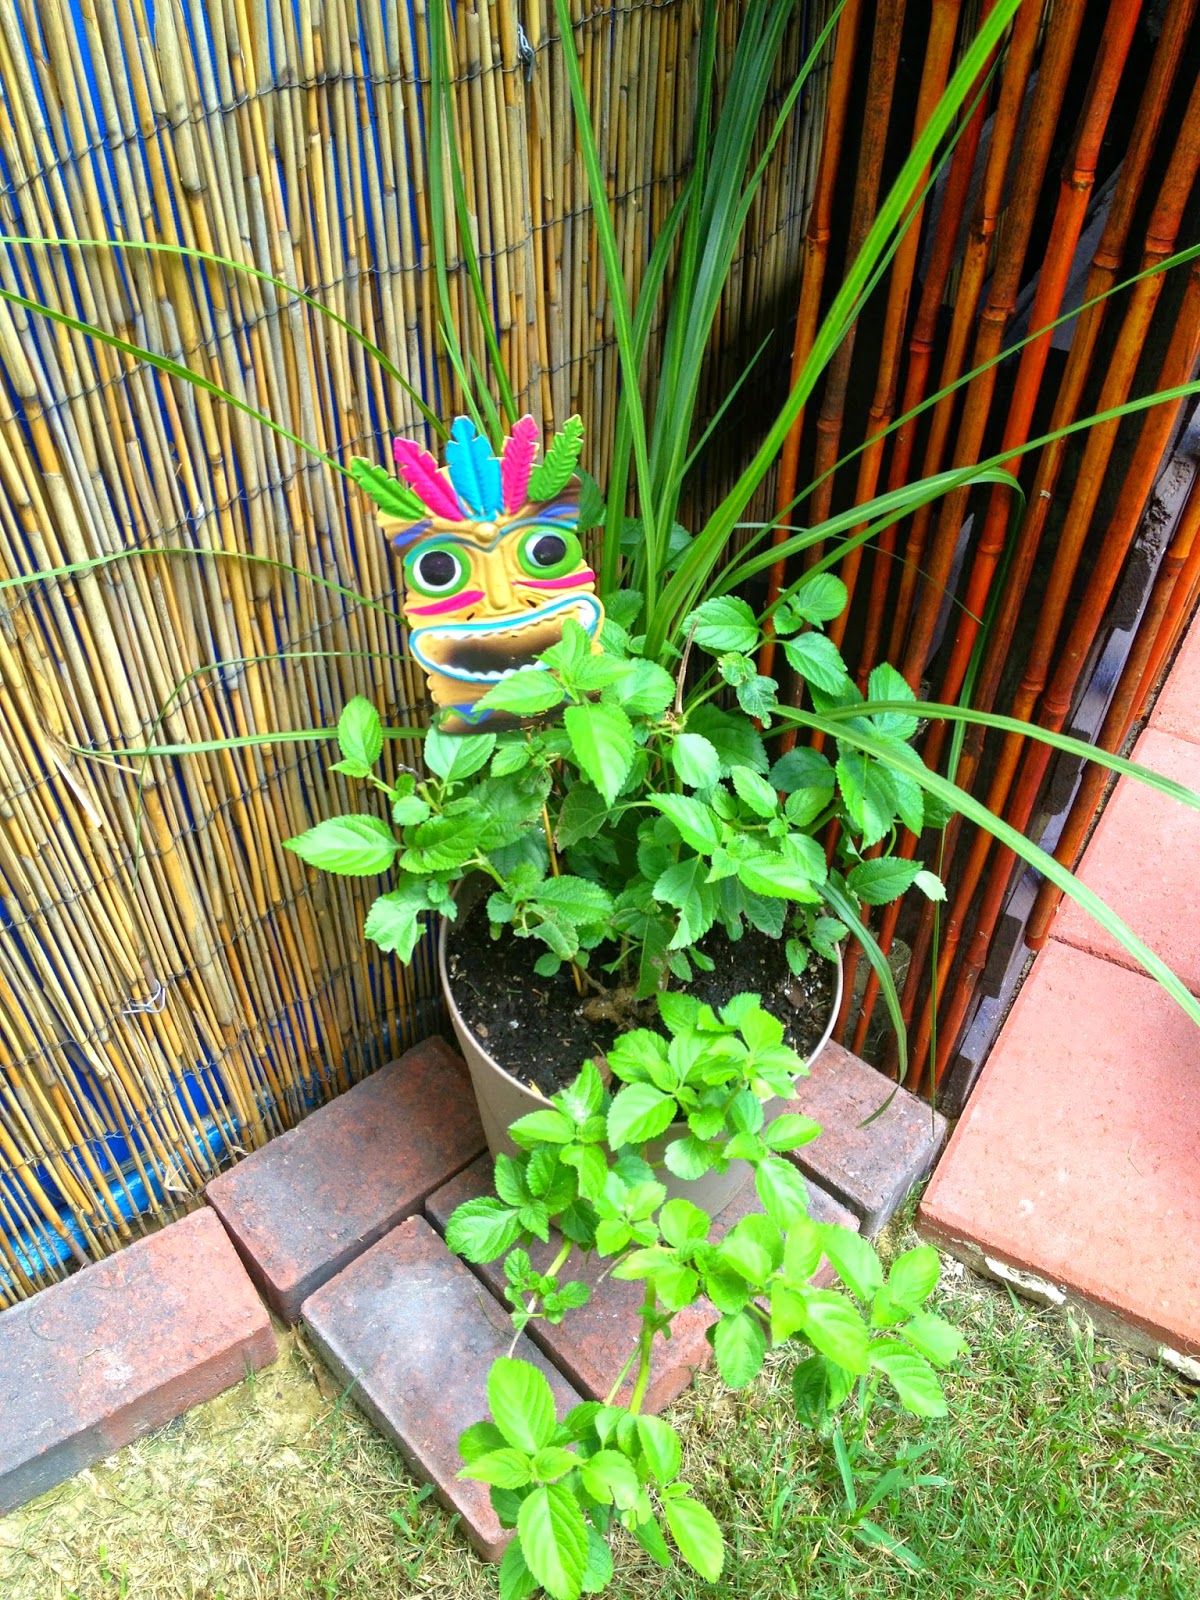
The Tiki Bar is complete now with the addition of two stools and these cute little Tiki plant stake guys that I picked up at Dollar Tree.

pallet tiki bar, tiki bar diy, redneck swimming hole, Dollar Tree


Gotta love Dollar Tree! They add just the right amount of "Tiki Chic" to 
our Red Neck Swimming Hole.

pallet tiki bar, tiki bar diy, redneck swimming hole, Dollar Tree, above ground pool, Intex pool
We are looking forward to many more beautiful summer days spent in our little piece of backyard paradise!

Wishing you all a fantastic week from Crafty In Crosby!


Photobucket


We're on the Fence! Won't you take a minute and vote for us?


Related Posts Plugin for WordPress, Blogger...